


How to blur faces in Final Cut Pro
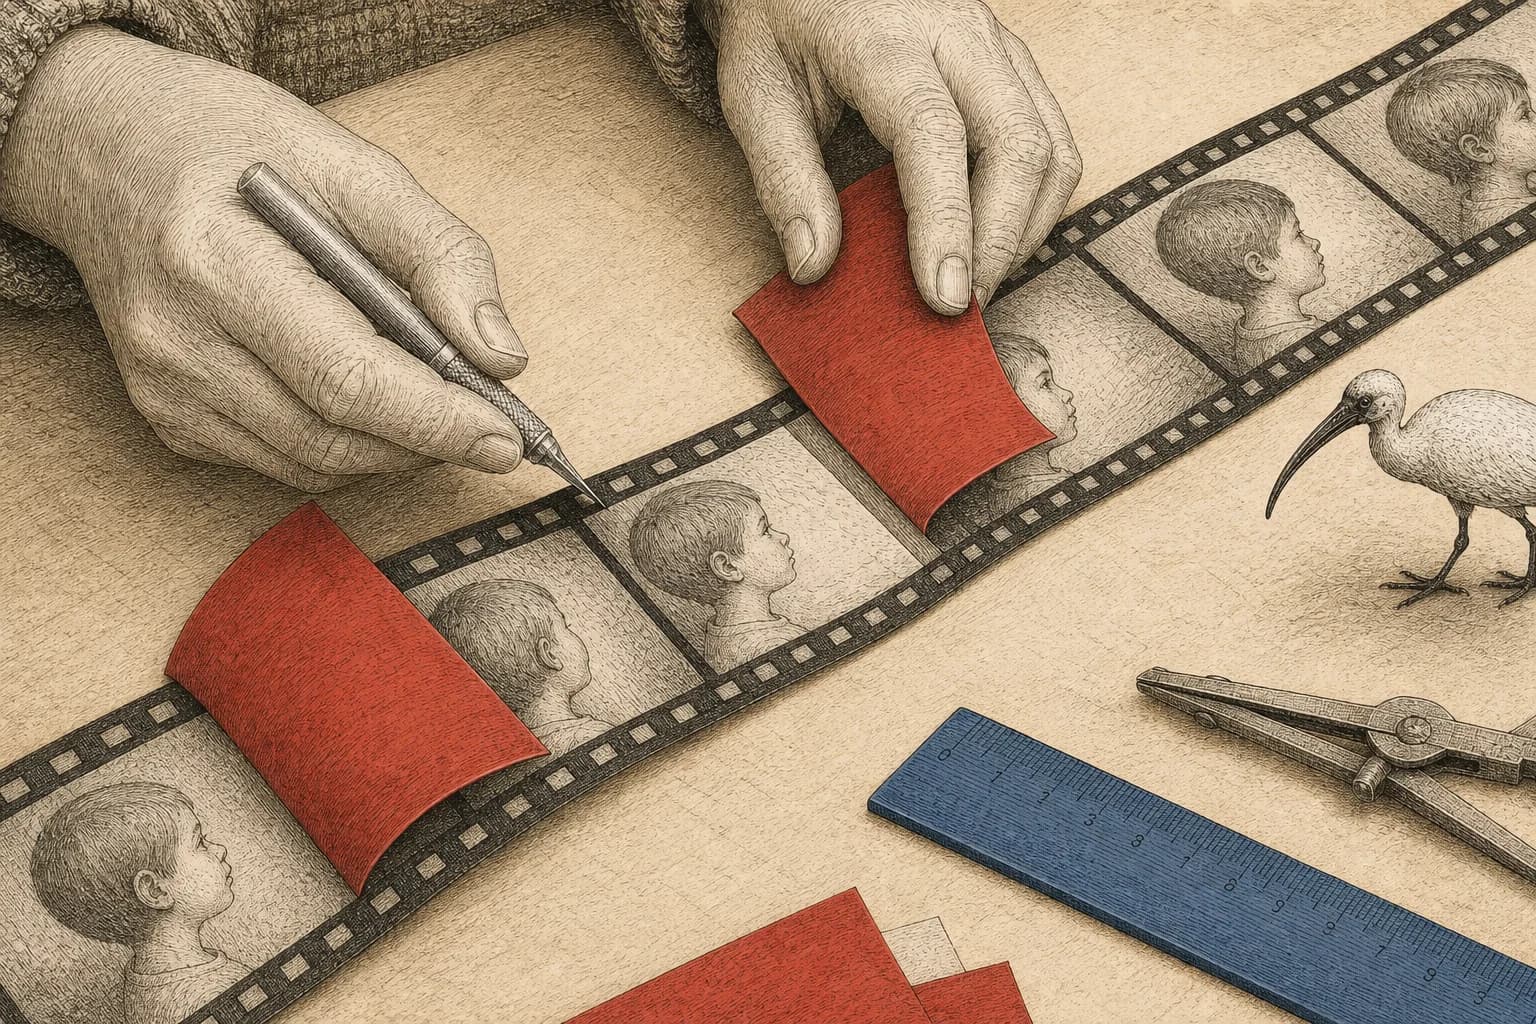
The child turns sideways and their nose comes out of the blur. You enlarge the blurred area, play the shot again, and now it jumps where you made the adjustment.
Final Cut Pro has two controls involved here. The tracker follows movement. The shape mask decides which part of the picture gets blurred. They start linked together, so changing the mask can change the track too. Separating them lets you give the face more room without undoing the movement you've already tracked.
These steps use Final Cut Pro for Mac and its object tracker. Work on the clips in your finished timeline, one shot at a time. A cut to a new camera angle needs its own face coverage.
Attach the blur to the face
Choose a frame with a clear view of the face. It can be halfway through the clip; Final Cut can track in both directions from there.
- Open Final Cut Pro → Settings → General. Set Drop Effect in Viewer to Add Tracker.
- Open the Effects browser with Command-5 and search for Gaussian.
- Drag the Gaussian effect onto the face in the viewer, the window showing the video. Release when the suggested oval appears over it.
- Fit the tracker grid closely around a clear part of the face, keeping the background out.
- With Tracker selected above the viewer, click Analyze. This follows the target forward and backward through the clip.
Dragging onto the timeline clip applies an effect without this face-targeting step. If the whole picture becomes blurred, undo that addition and drag onto the face in the viewer instead. Apple's tracking workflow and Effects browser controls
To adjust the blur itself, select the clip and open the inspector with Command-4. In the Video inspector → Effects, find Gaussian and raise Amount until the facial detail is obscured. Keep the effect fully applied; reducing Mix brings the original picture back into the result. Effect controls
Start playback before the child appears. Watch what the tracker follows, especially when a hand passes across the face or two people cross. Repair any slip before enlarging the mask in the later step.
Repair the part where tracking went wrong
A saved tracking position at one moment is called a keyframe. If the track follows the wrong person for a few seconds, you can remove those positions and correct that stretch while keeping the good part.
- Select the clip and choose Clip → Show Tracking Editor. If there are several tracks, choose the right one from the track-name menu.
- Drag across the failed interval and click Delete above that selection to clear its tracking positions.
- Move the playhead to a frame that needs correction. In Video inspector → Trackers, select the tracker and show its Onscreen Controls.
- Check the viewer's Tracker menu has Behavior → Pin to Tracker. Move the tracker back onto the face. Changing it with the onscreen controls records a keyframe.
- Correct the face's position at the other end of the interval, then move through the frames between them. Add a correction wherever the face leaves the tracked area.
Final Cut connects positions across a gap. That connection can still miss a child who ducks down and comes back up. The frames between your corrections need checking too. Apple's tracking-repair controls
If the face disappears behind someone, inspect its final visible frame and the first one where it returns. Keep the intervening area covered wherever any part of the face remains visible. For a shot with repeated obstructions that you can't cover reliably, leave it out of the public edit.
Make the blurred area larger without moving the track
A close-fitting target helps the tracker follow the face. The blur needs more room: forehead, chin and cheeks must stay inside as the head turns.
- Select the clip. In Video inspector → Effects, select Gaussian's shape mask.
- Above the viewer, open the arrow beside Tracker, then choose Behavior → Offset from Tracker.
- Select Shape above the viewer and resize or reposition the mask around the whole face.
- Play through the clip again, checking the closest view and widest turn.
Offset from Tracker lets the mask keep following the movement while you adjust its coverage separately. Without it, changing a pinned mask after analysis can overwrite a tracking position and cause a jump. Offsetting the mask
Keep facial features away from the softened edge of the mask. If the child comes closer, check that both the coverage and blur strength remain sufficient. A setting that hides a small background face may leave recognizable detail in a close-up.
If you later return to manual tracking corrections, check Pin to Tracker again before adding those keyframes, then repeat the mask-size check. For another child, add and review a separate tracked effect; don't assume the first track includes everyone.
Check coverage before exporting
Watch the entire edit, then pause at the transitions that are easiest to miss:
| Moment | What needs to stay covered |
|---|---|
| A turn to profile | The nose and far cheek, beyond the original front-facing outline |
| A hand or person crosses the face | Every visible part before the obstruction and as the face returns |
| The child walks toward the camera | The larger face, with enough blur at that size |
| A cut, replay or freeze frame | The face in this version of the shot too |
| Another child appears behind the subject | Their face, using its own coverage |
Blur leaves information from the original image. If that isn't enough for what you want to conceal, use an opaque cover or crop the person out. The comparison of blur, mosaic and covers explains what each retains.
Export the project and check the saved file
Select the finished project in the browser so you're exporting the edit, rather than an original source clip. If you have been viewing proxy media, open the project and choose View → Optimized/Original above the viewer before export.
Choose File → Share → Export File. In Settings, choose a suitable publishing format such as Computer, then review the resolution, duration and audio information shown. Video Codec controls how the video is encoded; H.264 is a common sharing choice when offered for your project. Choose Next, a save location, then Save. Export steps and format settings
Before saving, check the Info pane for a private name or description. Apple includes those project attributes in the output, so a clean picture doesn't make the exported file free of identifying information. The metadata guide covers the next check.
Once export finishes, open the new video outside Final Cut. Watch it with sound, return to the tracking repairs and check any captions. If a name is still audible, remove those words and export again.
Keep the checked sharing file separate from the original recording. When you attach the video to a post, choose that file; the corrections in your Final Cut project don't change the recording sitting beside it.
A Final Cut library can also contain those source recordings. Apple's library-transfer instructions use Consolidate to gather media so another Mac can continue editing. If a relative or school only needs the finished video, send the exported file rather than that library. Deleting generated render or proxy files to reduce the library's size is a storage cleanup; it doesn't turn the remaining source footage into the covered version.
Sources reviewed 5 September 2026.